In my previous commentary on Xi'an Travel Notes, many valued friends asked how to do this?
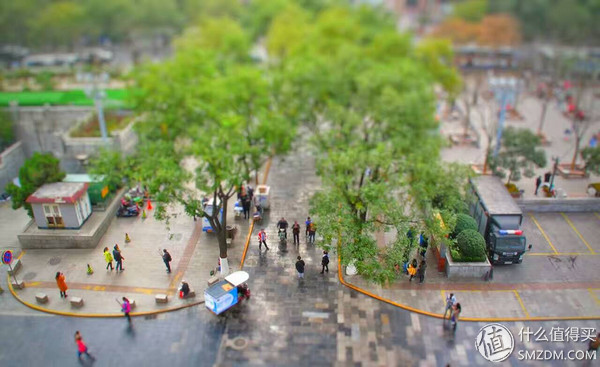 It is this ↑
I just suddenly saw the axis shift lens one day and remembered that there was such a way to do a miniature landscape. I just searched a bit and tried it on my own to make this map. So the small ones couldn’t say any tutorials, even if it was A little bit of experience (there isn't a tutorial for shooting sisters, right?)
First of all, of course, you have to have a picture before you do it, right?
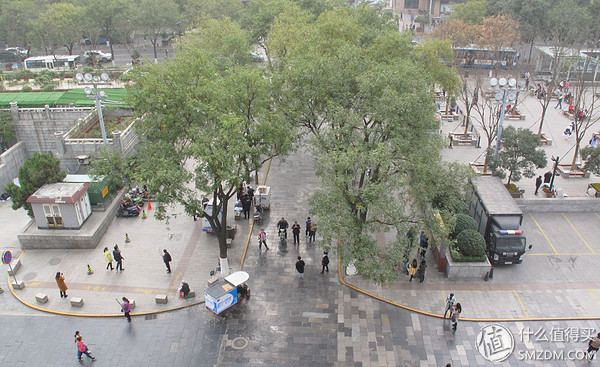
I urge you to find a higher place, such as the tower, on the flyover, these are not low, not low, barely able to see the face of the place, and then ... oh! That comrade, what are you doing? Who told you to jump down! Climb back. I just want to say I need to take a photo in these places, try to take a picture, try not to shoot
For example, this
Then, download a mobile app, Snapseed

Aunt Zhang cannot upload the URL of a non-existent website. Only screenshots are available. I am using Android. iOS should also have
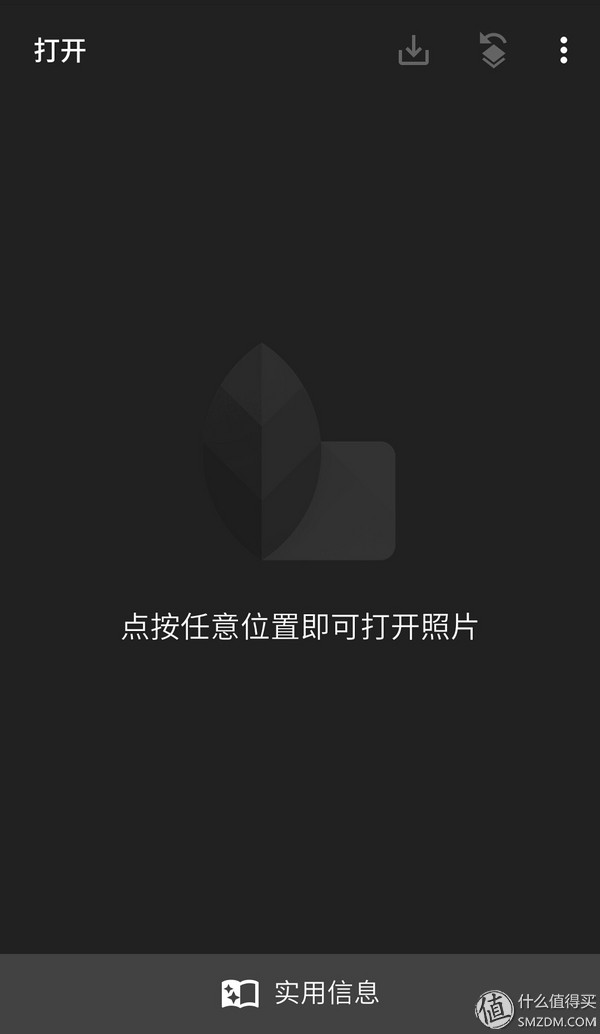 Open software interface is like this
If you can't find the picture you want, you can select the desired picture in the gallery (Album?Photo?Gallery?), then press share, then select snapseed and you can open it directly.
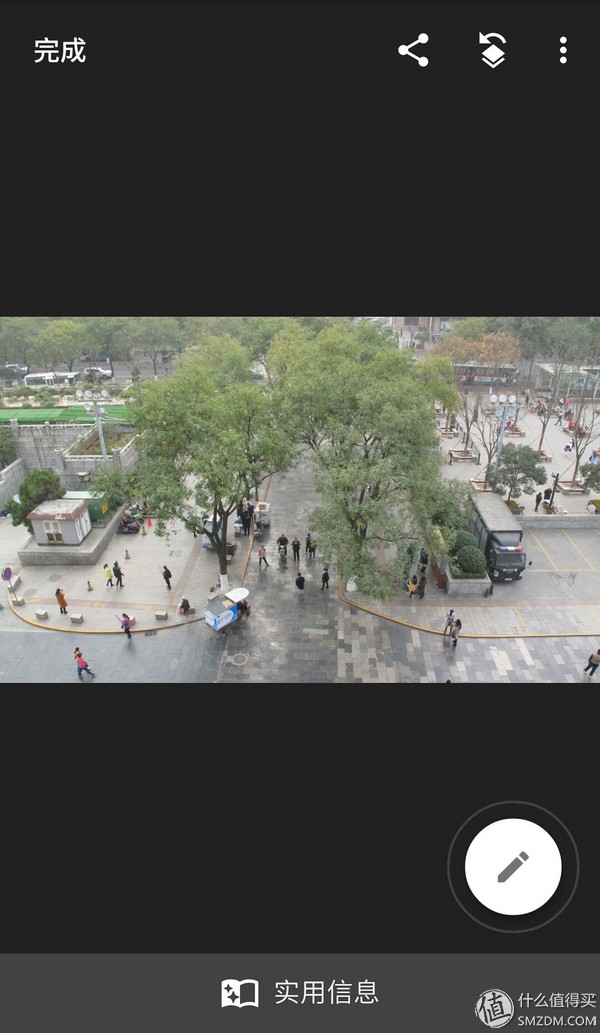
Let's analyze this picture first... Do you guess I will say this? Say I didn't know what I was talking about! Let's talk people!
This picture! gray! Trees are not like trees, people are like people. Our goal is to make this picture the feeling of a miniature model, so I thought about how I would look at the miniature model to know how to change it.
First of all, we learn how to use this software. There is a pen on the picture above, and after that, it is the basic tool of this app.
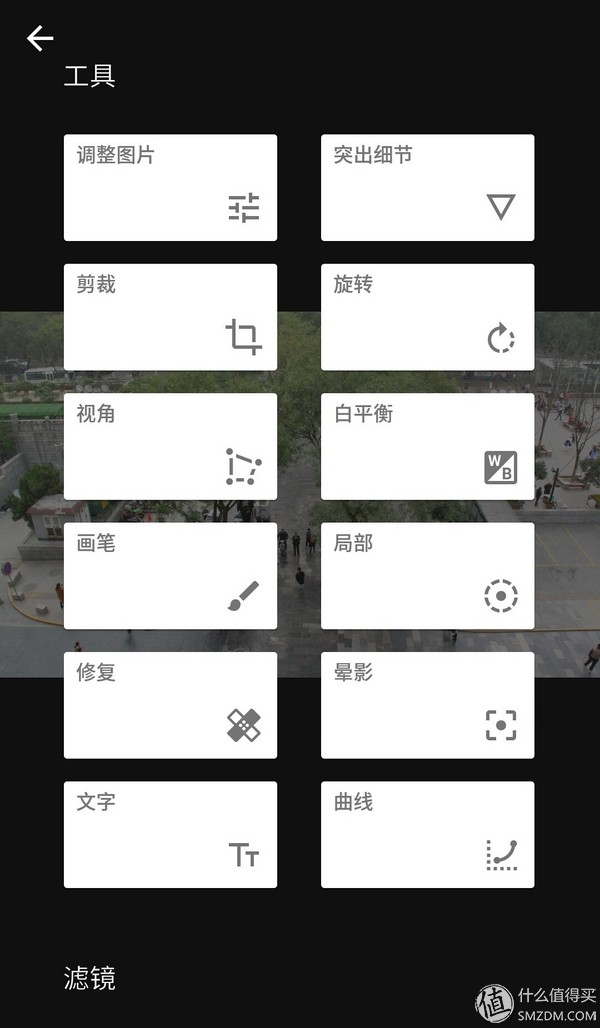
Here we use "adjust picture"
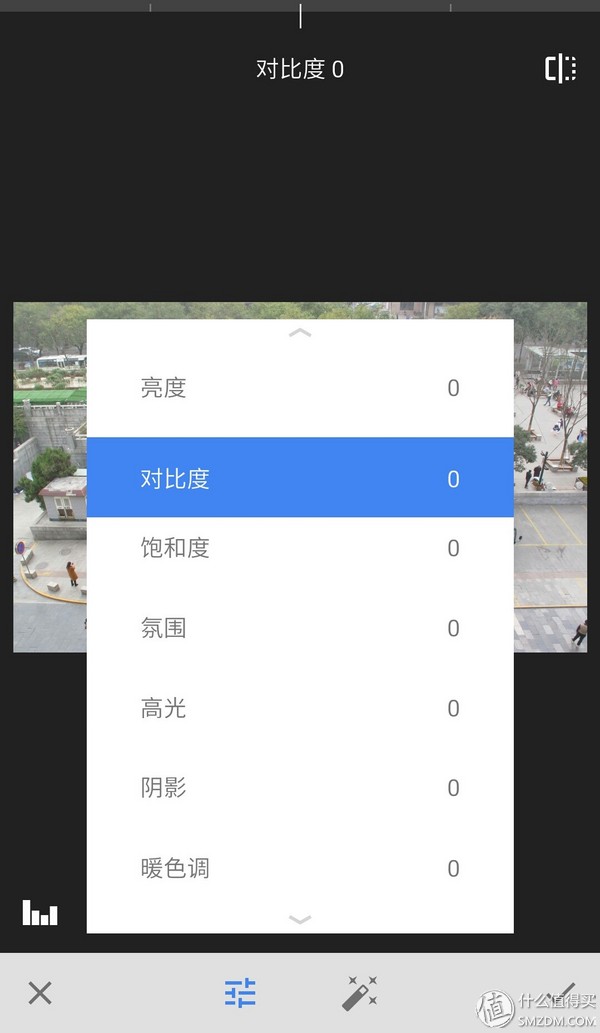
Swipe up and down to switch parameter options, slide left or right to select parameter size
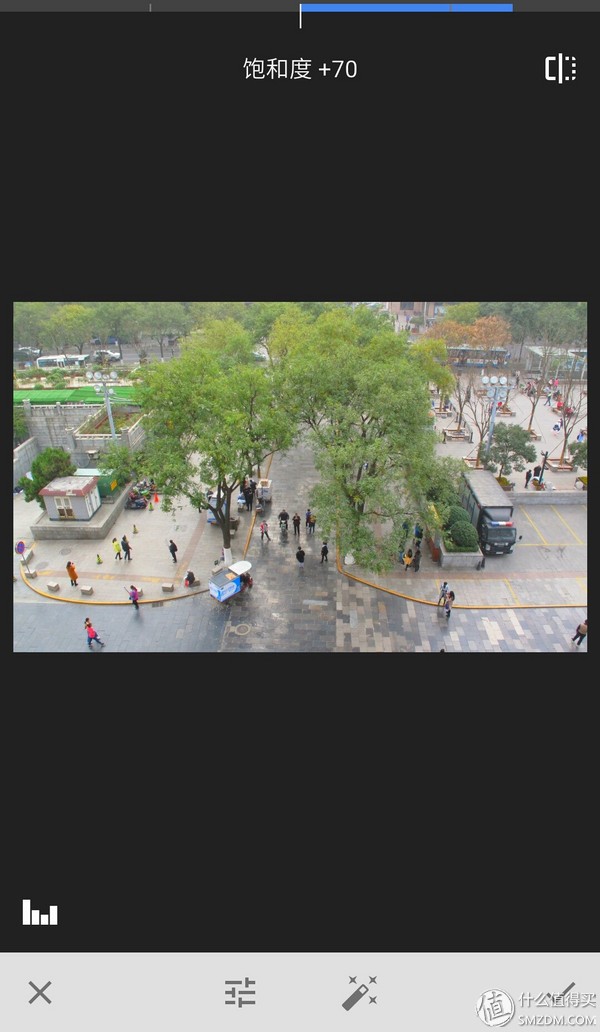
I personally recommend to adjust the saturation first, and slide it left or right until the color looks like a fake, full of plastic
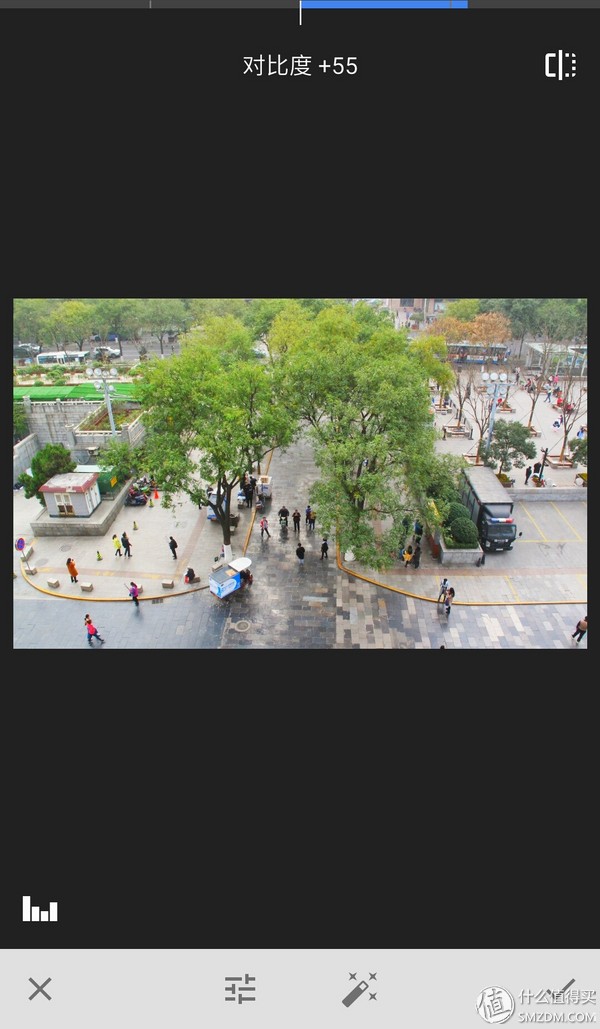
Then adjust the contrast, contrast is the difference between light and dark, so increase the contrast, the tree, the car more obvious objects, more from the background, like later put up
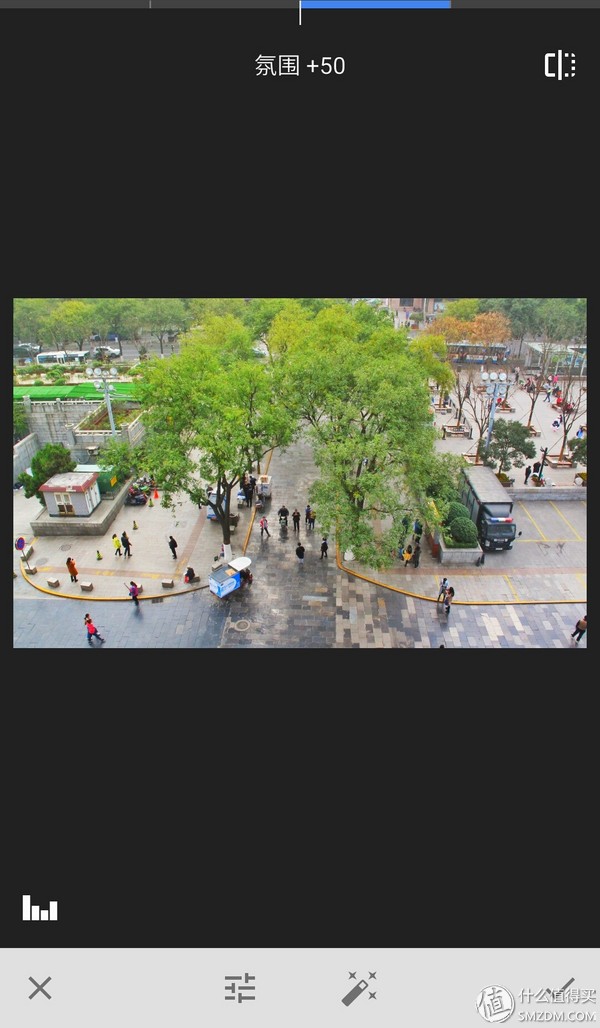
Then adjust the atmosphere. After adjusting, you can see that the peeling is stronger.
The contents of this photo so far are not quite like real objects.
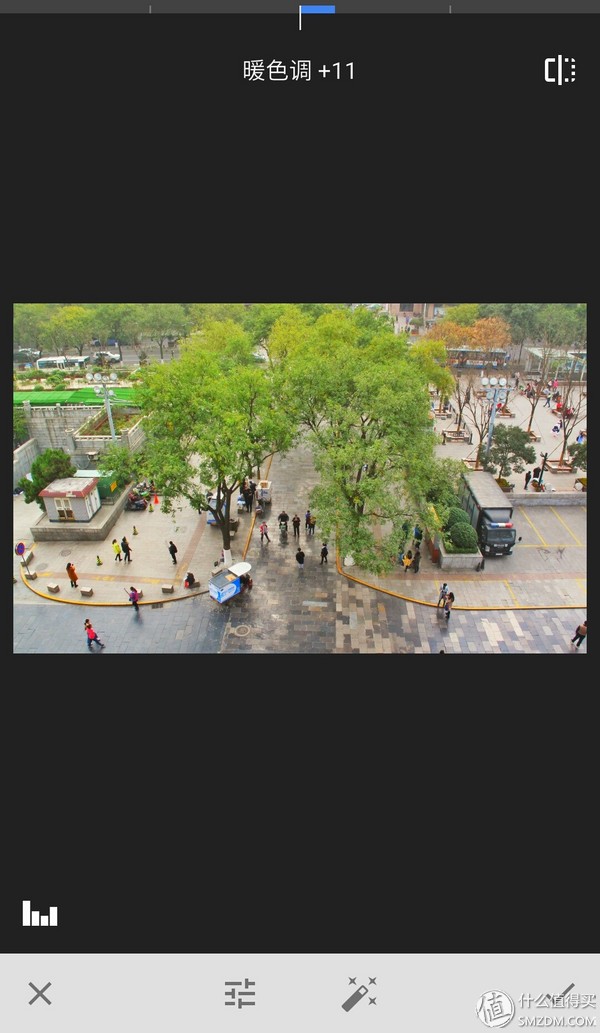
Finally, we increased the warm tone to make the whole picture slightly yellowish and more fairy tale (more false)
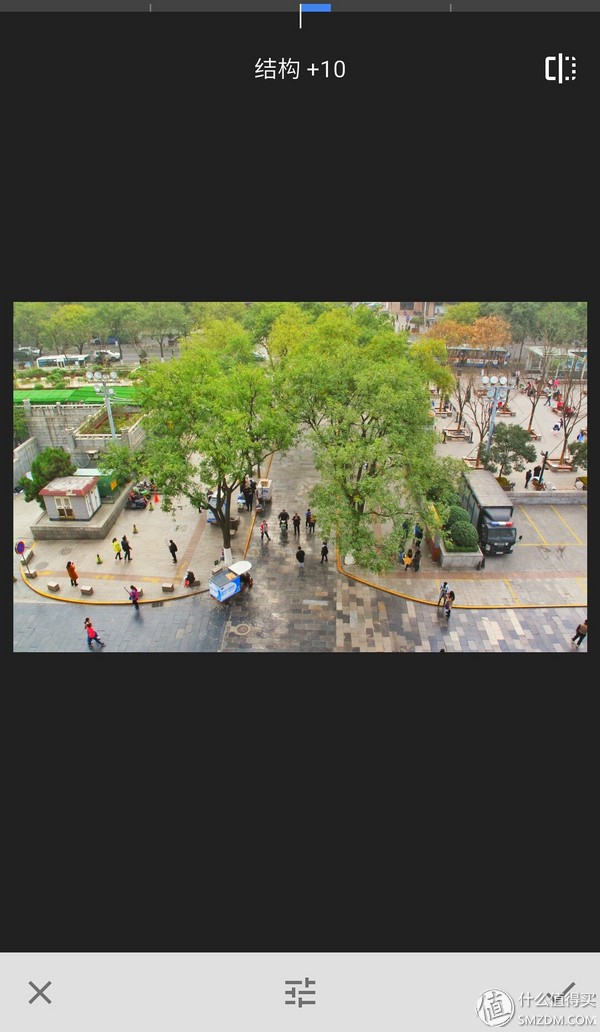
After adjusting the picture, I was still not satisfied, so I continued to use "highlight details" (in the main edit menu, adjust the picture next door)
Pull up the structure a little, so that more details highlight, so that the texture of the tiles more obvious, remove the wind and rain should be lighter.
Since my picture has been sharp enough so far, I don't continue to sharpen it. Before the contrast is not adjusted so high, I can try sharpening.
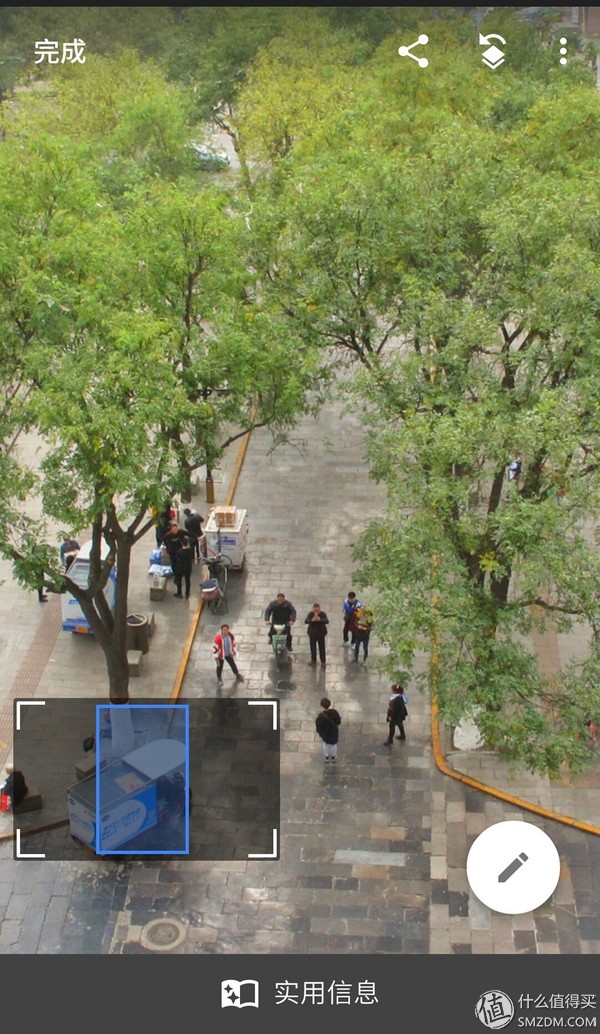
Zooming in and seeing, people at this time are like plastic villains, but the leaves are not enough fake, or you can choose to continue to increase the saturation and sharpen the sharpening. 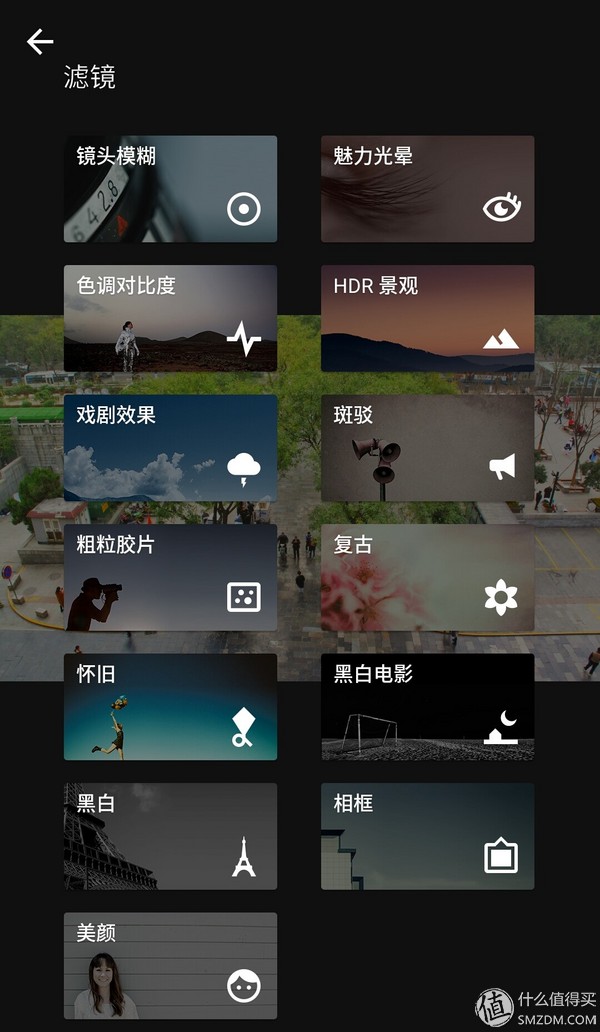
After finishing the basic color adjustment, you can see the filter in the main editing menu. Many filters here are very fun. We are using the first one - lens blur

After entering, the default is circular, because we want to simulate the effect of shifting the axis, while shifting the axis is the content of only one axis is real, the others are virtual. So click the concentric circle on the right of the "X" toggle
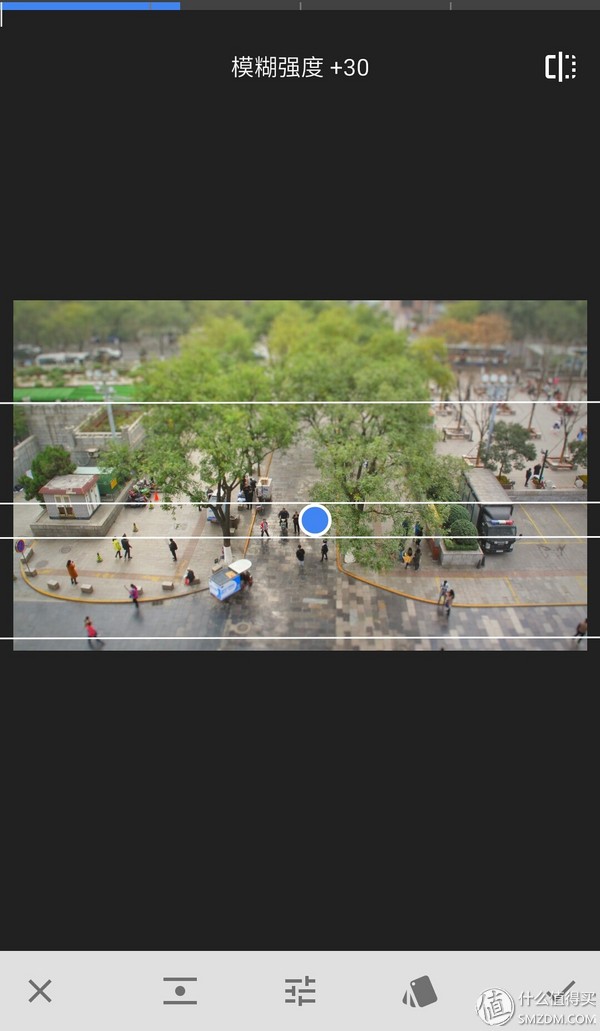
After switching to linear, we can see a blue dot and four lines. From top to bottom, we call these four lines 1 line, 2 line, 2' line, 1' line (science students ah!!!)
The blue dot is used to move the overall position of the four lines
The contents of 2 lines and 2' lines are real, that is, clear
The contents of the 1st line and the 2nd line are called transition layers, but they are blurry, but they are fairly clear (1' line and 2' line are the same)
Content outside the 2 line and 2' line is completely blurred, that is, blurred
The two fingers contract and the clear range becomes smaller. Pull open, the clear range becomes larger
Narrow the clear range to the same as the one above me, then click on the parameter in the bottom bar
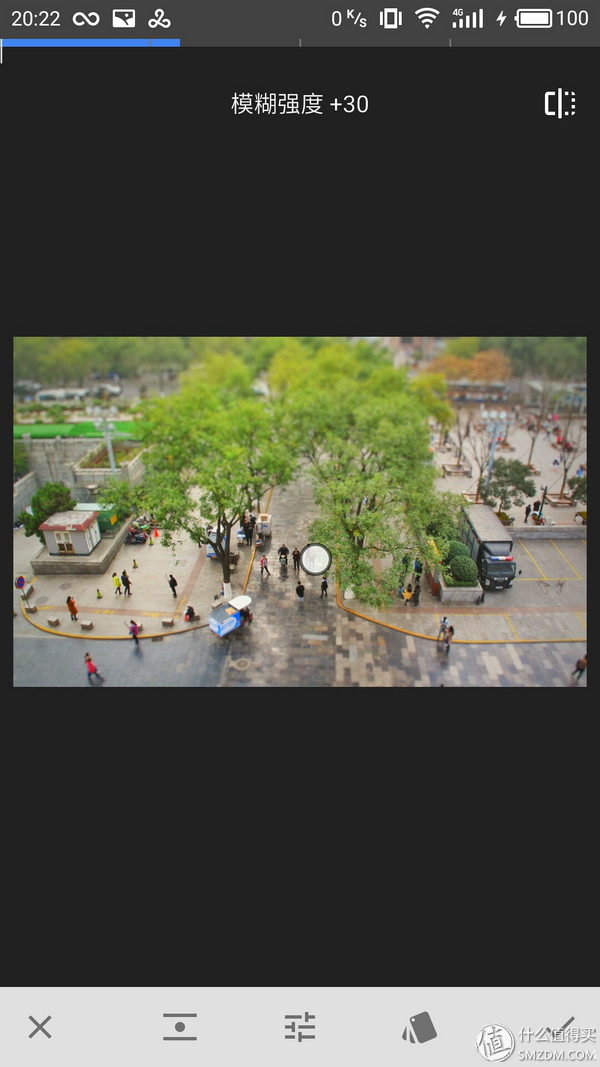
Blur Intensity Controls the degree of blurring of all ranges except for clarity (between 2 and 2' lines)
The distance between the 1st line and the 2nd line (the same applies to the 1' line and the 2' line) is controlled. The smaller the value is, the closer the 1 line is to the 2 line.
The vignette intensity controls the darkness of the four corners of the photo, simulating the often-seen dark corner of the lens.
Generally do not know what these three values ​​are set to can be acquiescence, as long as you pay attention to adjust the size of a clear range can make a good effect
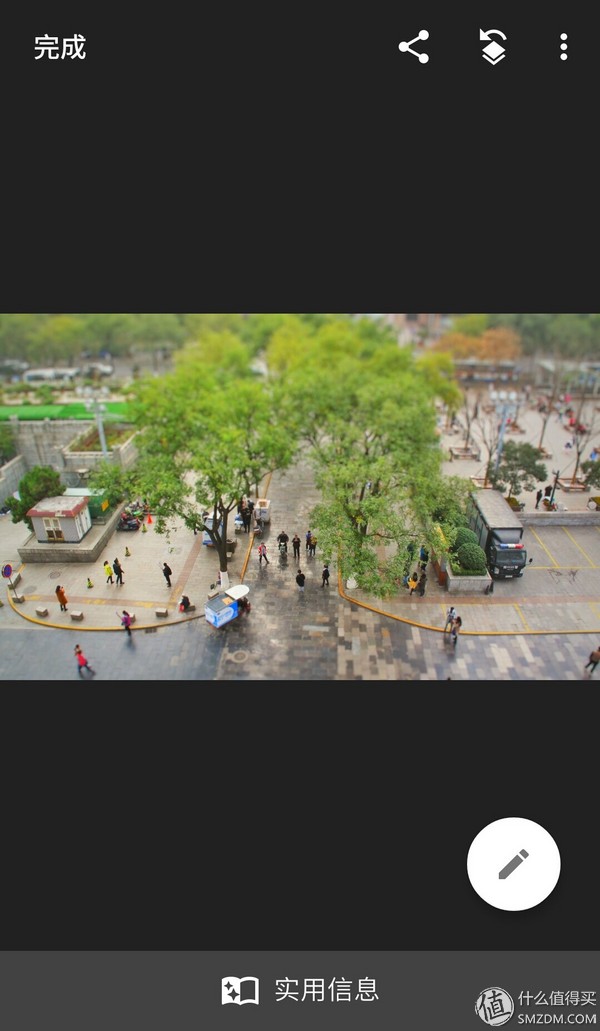
After you get the finished product, press Finish to save it, and then you can take it to your friend circle and enjoy it (å“”...!)!
Lastly, let's talk about my head picture this time.
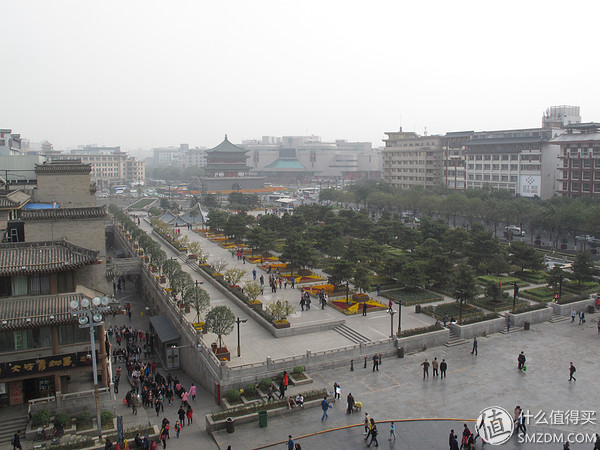 The original picture is like this
This picture doesn't matter even if you think through the steps above. Why?
Do you tell me who would make such a large and miniature landscape?
So I trimmed it slightly after adjusting the picture.
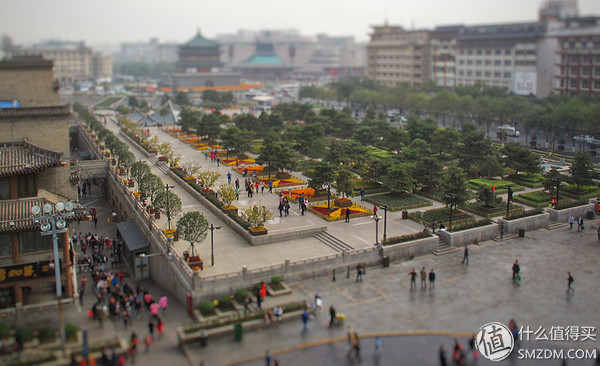
This looks more like an image than it actually does. In fact, there is also a part of the reason that the sky is smaller. It feels like the camera is lower and closer when you take a miniature model.
to sum up
The above are some of the younger brothers' experience. The students are not good at learning. I hope you will spray lightly.
The first time you see this method, the value of friends can be based on the younger brother to try this original, more than try a few times to find the door to the new world?
If there is a better way to communicate with friends in the comments area, I will also steal a teacher.
The shift lens refers to the standing on the ground when photographing a building. In order to capture the whole picture, the camera should be slightly upward. Because the lower part of the building is farther away from the upper part, it will produce a convergence effect of “big up and downâ€. At this time, the lens may not have sufficient viewing angle, and a wider-angle lens may need to be replaced. For a 35mm camera, the equivalent method is to use a lens with the same focal length, but with a larger viewing angle, to shoot towards the target and move the film to the position to be retained when clipping (actually the lens is translated in the opposite direction). This lens is "shift axis lens" - from Baidu Encyclopedia
In fact, as far as I know, the architecture of the axis-shifting camera has a feature, no distortion, and all the buildings are upright. The pursuit of perfection can be corrected by using the snapseed perspective tool. However, I think that these photos taken by non-wide-angle lenses are more strange after correction, so they are not done (in fact, I am lazy, after all, it is difficult to align the points on the phone).
Hydrogel Screen Protector Sheets
Universal Screen Protector, TPU Screen Protector, Hydrogel Protective Film, Mobile Phone Screen Protector, Hydrogel Screen Protector, TPU Protective Film
Shenzhen Jianjiantong Technology Co., Ltd. , https://www.jjttpucuttingplotter.com